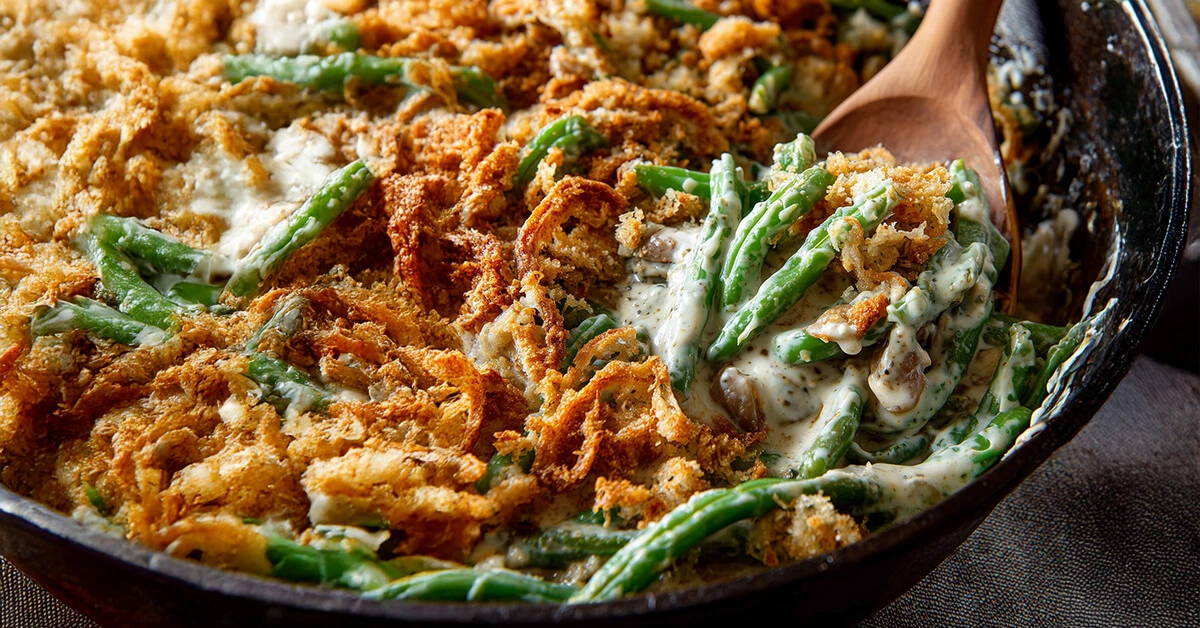
My grandmother always made green bean casserole for Sunday dinners, but I never understood the fuss until I tried making it myself. The moment those fresh green beans hit that creamy homemade sauce, everything clicked.
This green bean casserole has completely taken over my holiday table. My sister calls it “the one that makes everyone quiet while they eat.”
Why I keep making this Green Bean Casserole week after week
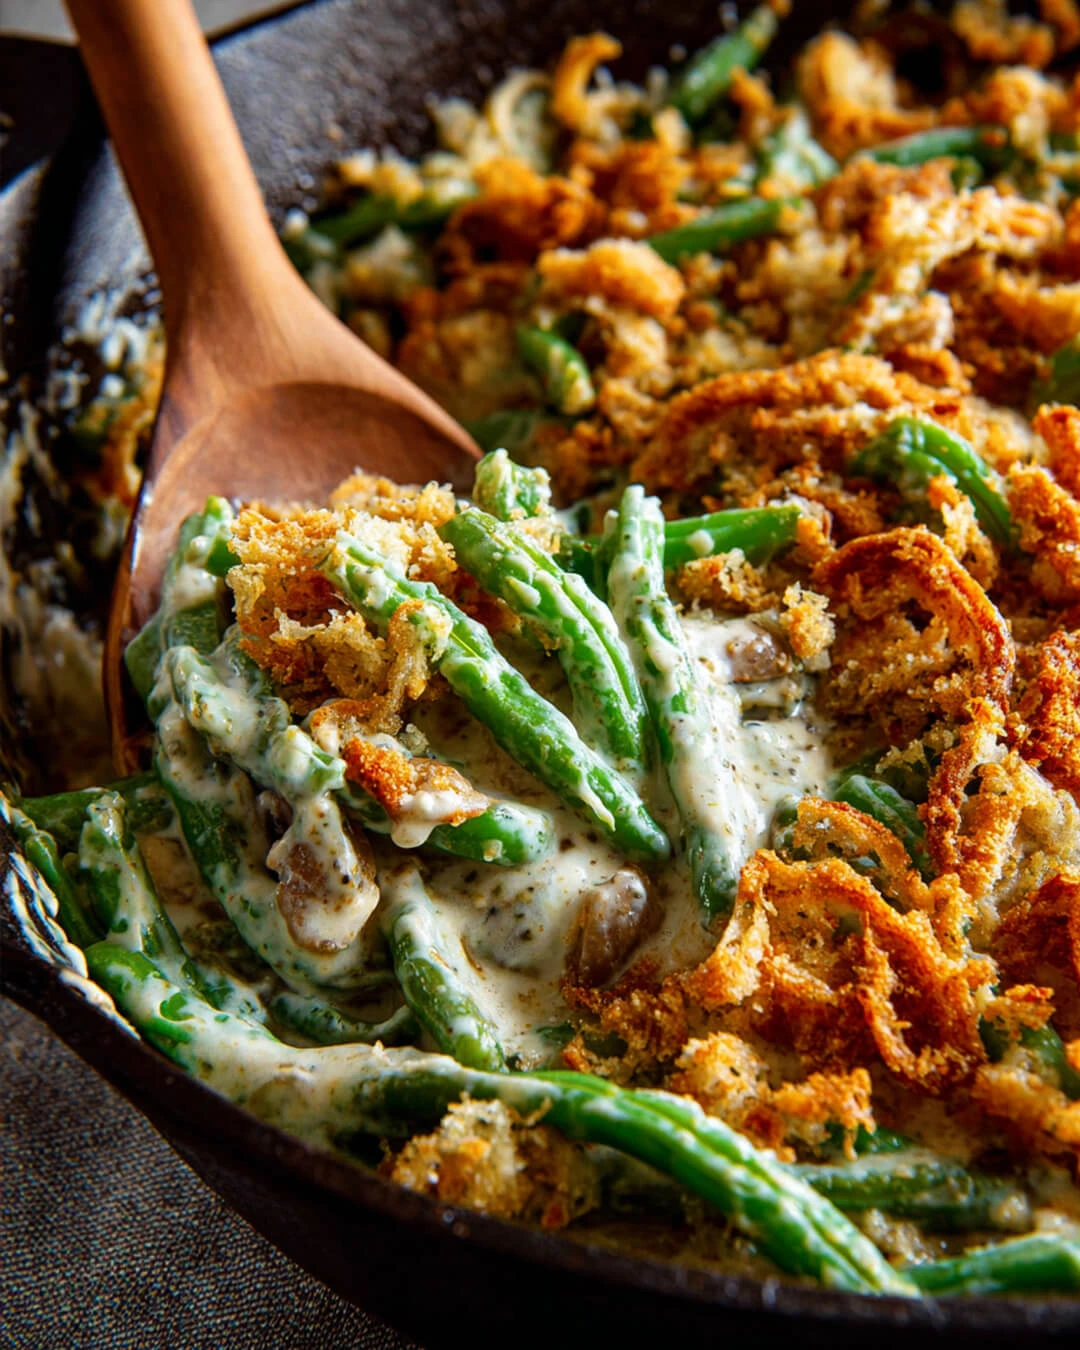
This recipe changed everything for me. The creamy sauce made from real ingredients tastes so much richer than anything from a can.
I love how the fresh green beans hold their shape and give you that perfect bite. You get all the comfort without any of that artificial taste that comes with processed ingredients.
The best part is watching people take that first bite and their eyes light up.
Even my pickiest eaters ask for seconds, and I’ve had friends beg me to make sweet potato casserole to go alongside this dish for their holiday tables.
What goes into my Green Bean Casserole
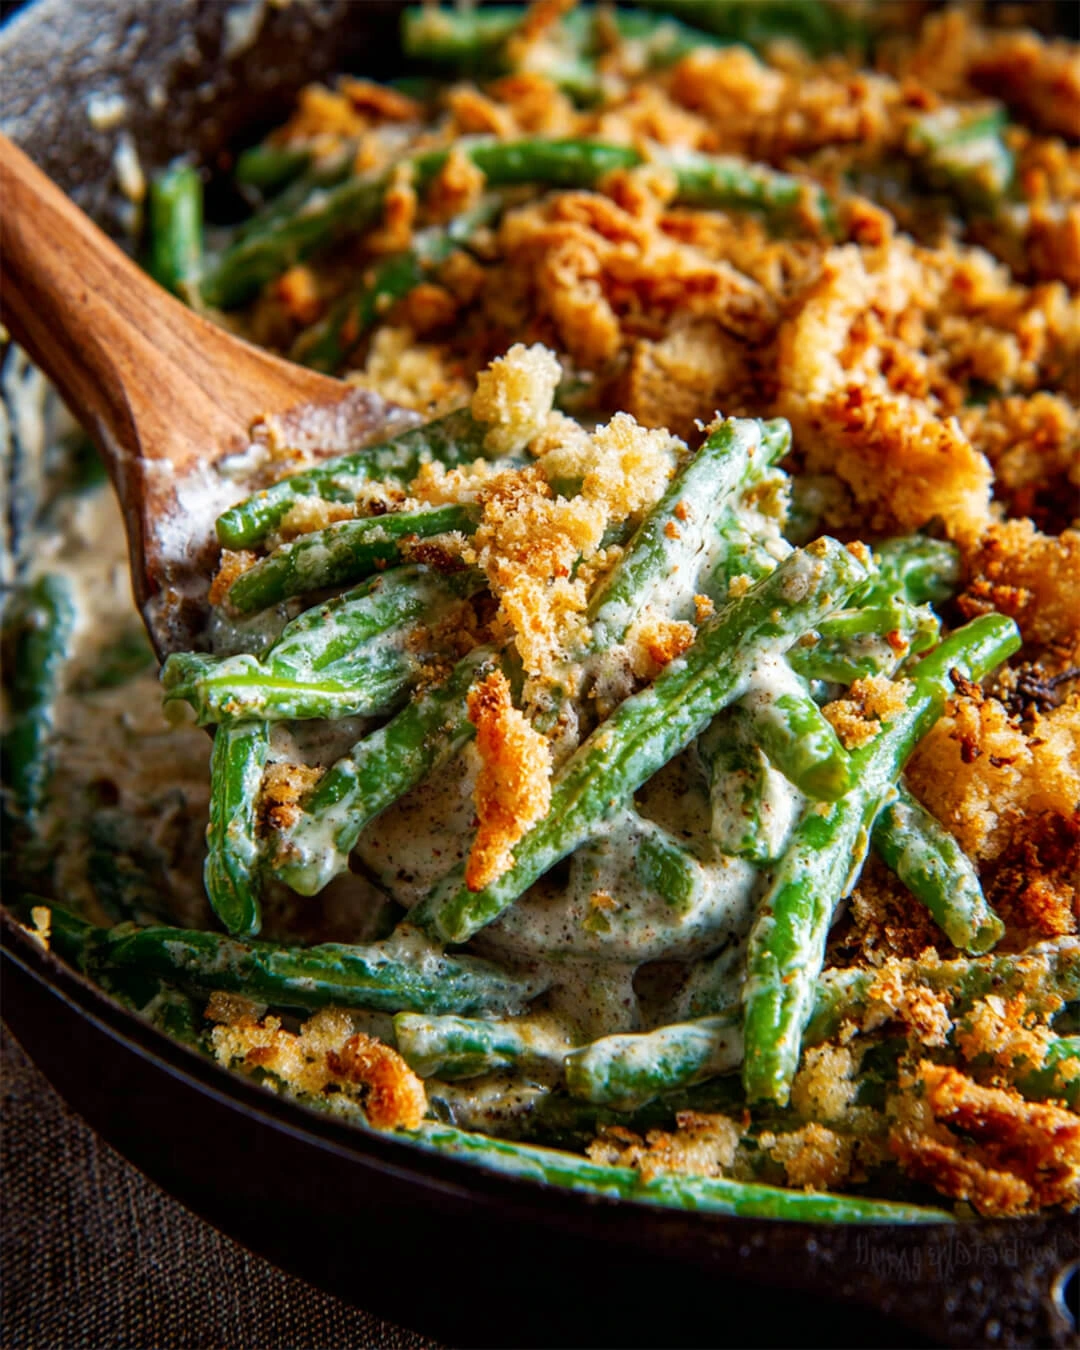
For the Crispy Onion Topping:
- 1 large onion, thinly sliced
- 1/2 cup all-purpose flour
- 3/4 cup panko breadcrumbs
- 1/2 teaspoon salt
- 1/4 teaspoon black pepper
- 1 large egg
- 2 tablespoons milk
For the Casserole:
- 1 1/4 pounds fresh green beans (trimmed and cut in half)
- 3 tablespoons butter
- 10 ounces fresh mushrooms, sliced (button or cremini work great)
- 3 cloves garlic, minced
- 3 tablespoons all-purpose flour
- 1 cup chicken broth (or vegetable broth for vegetarian option)
- 1 1/2 cups half-and-half
- 1 teaspoon salt
- 1/2 teaspoon black pepper
Note: You can absolutely use store-bought crispy onions if you’re short on time, about 1 1/2 cups total, with 1/2 cup stirred into the mixture and 1 cup on top.
How I Make This Green Bean Casserole
- Prep your oven and workspace. Heat oven to 450°F and line a large baking sheet with parchment paper.
- Make the crispy onions. Set up three bowls: flour in one, beaten egg and milk in another, and panko mixed with salt and pepper in the third. Dip onion slices first in flour, then egg mixture, then breadcrumbs. Place on prepared baking sheet and bake for 18-20 minutes, flipping twice, until golden brown.
- Blanch the green beans. Bring a large pot of salted water to boil. Add green beans and cook for 4 minutes until bright green and tender-crisp. Immediately drain and plunge into ice water to stop cooking. Drain again and set aside.
- Lower oven temperature to 400°F.
- Start the sauce. In a large oven-safe skillet, melt butter over medium-high heat. Add sliced mushrooms, salt, and pepper. Cook for 6-7 minutes until mushrooms release their moisture and start to brown.
- Build the gravy. Add minced garlic and cook for 1 minute until fragrant. Sprinkle flour over the mushrooms and stir constantly for 2 minutes – this cooks out the raw flour taste.
- Add the liquids slowly. Pour in chicken broth gradually while stirring to prevent lumps. Let it simmer for 3-4 minutes until it starts to thicken. Lower heat to medium-low and slowly add the half-and-half, stirring constantly.
- Thicken the sauce. Cook for 8-10 minutes, stirring occasionally, until the mixture coats the back of a spoon. The consistency should be like thick gravy.
- Combine everything. Remove from heat and stir in the blanched green beans and about 1/3 of your crispy onions. Mix gently to coat all the beans.
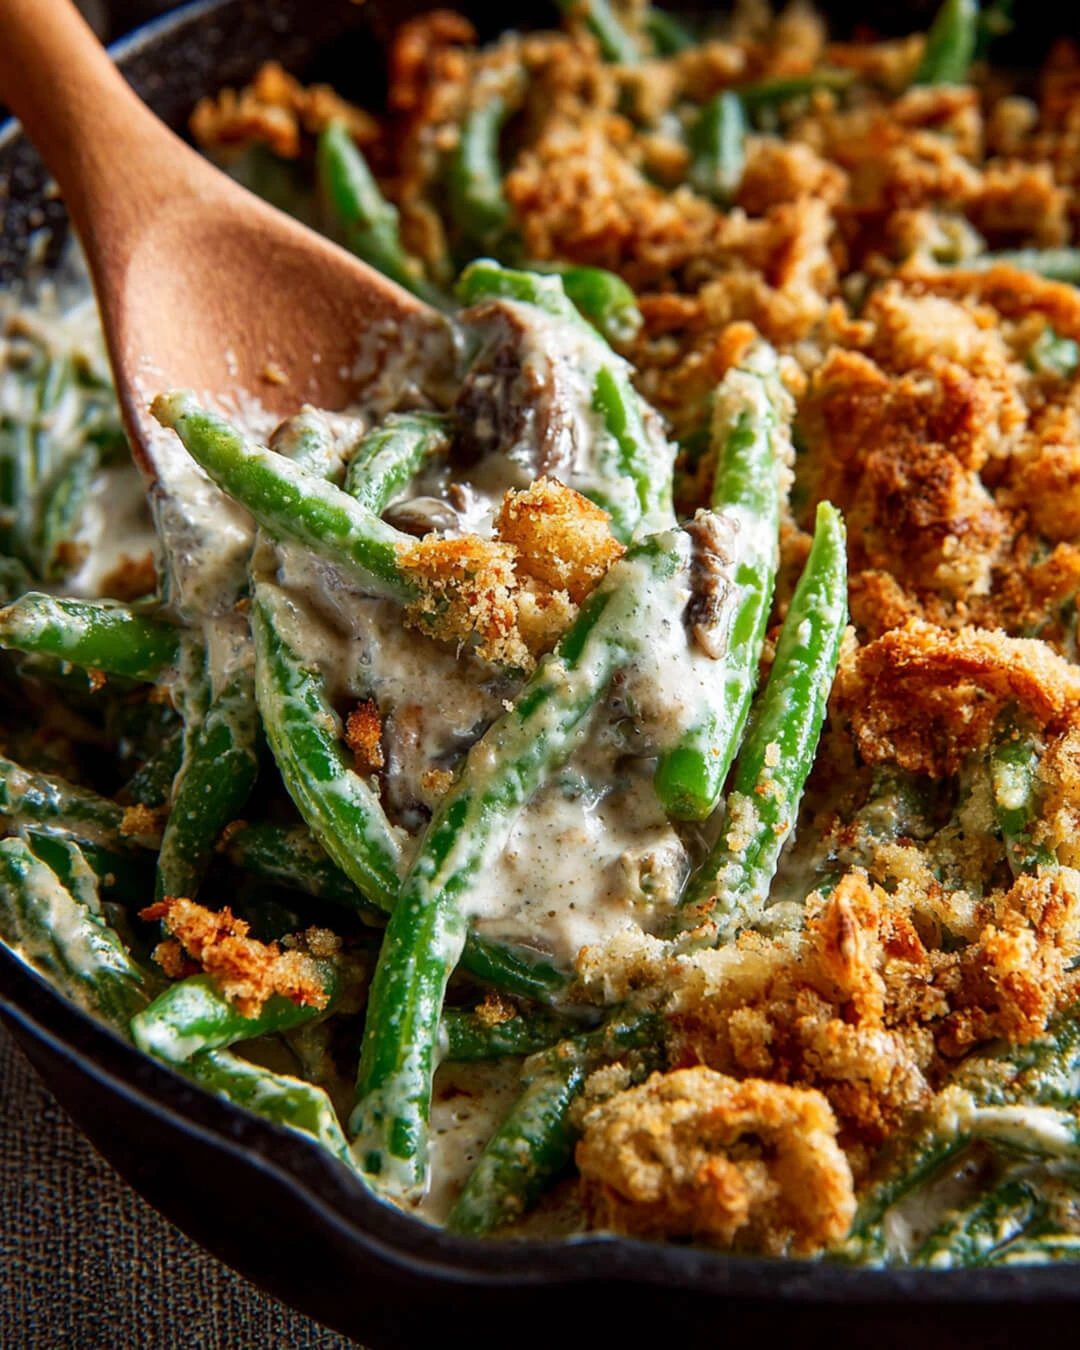
- Bake to perfection. Top with remaining crispy onions and bake for 12-15 minutes until bubbling around the edges and golden on top.
My personal tricks for the best Green Bean Casserole
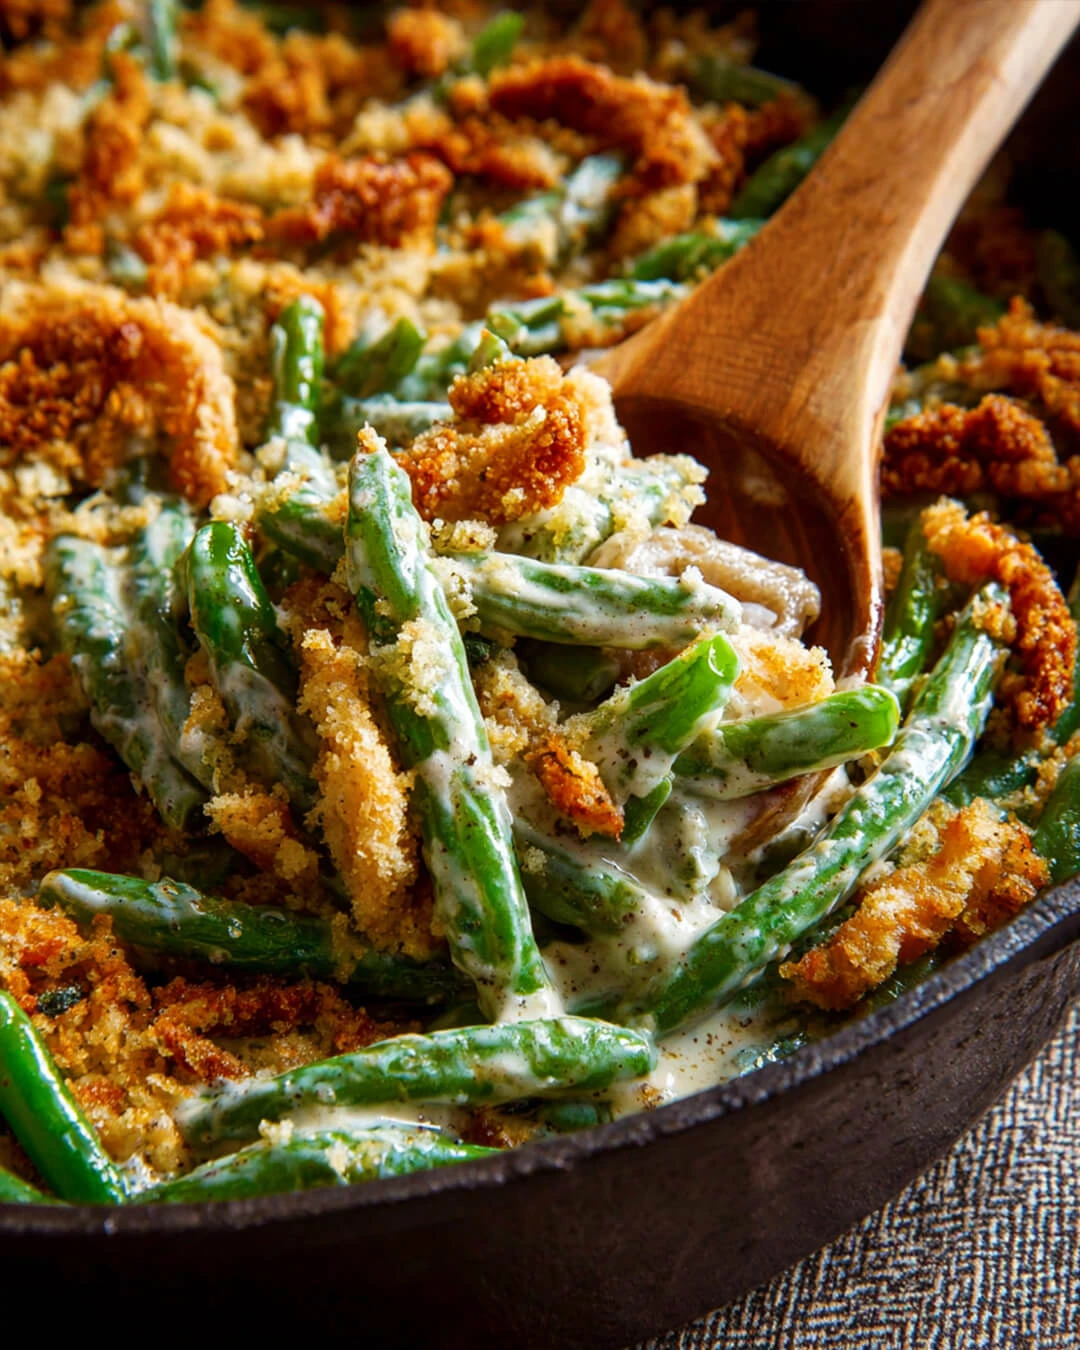
The secret to perfect texture is not overcooking those green beans during blanching. They should still have a little snap to them since they’ll cook more in the oven.
I always make my gravy a bit thicker than I think I need because the green beans will release some moisture as it bakes.
If your sauce seems thin, just cook it a few minutes longer before adding the beans.
Don’t skip the ice water bath for the green beans, it stops them from cooking and keeps that beautiful bright green color that makes this green bean casserole look so fresh and inviting.
Can I make this Green Bean Casserole ahead of time?
Yes, this is perfect for make-ahead! Prepare everything through step 9, then cover and refrigerate overnight. Just add 5-10 extra minutes to the baking time since it’s starting cold.
I hope you’ll give this homemade version a try, and if you’re looking for more holiday favorites, be sure to check out my traditional southern cornbread dressing that pairs perfectly with this casserole.
Print
Creamy Homemade Green Bean Casserole
- Total Time: 1 hour 25 minutes
- Yield: 10
Description
Fresh green beans in a rich, homemade mushroom gravy topped with crispy onions.
Ingredients
For the Crispy Onion Topping:
- 1 large onion, thinly sliced
- 1/2 cup all-purpose flour
- 3/4 cup panko breadcrumbs
- 1/2 teaspoon salt
- 1/4 teaspoon black pepper
- 1 large egg
- 2 tablespoons milk
For the Casserole:
- 1 1/4 pounds fresh green beans, trimmed and halved
- 3 tablespoons butter
- 10 ounces fresh mushrooms, sliced
- 3 cloves garlic, minced
- 3 tablespoons all-purpose flour
- 1 cup chicken broth
- 1 1/2 cups half-and-half
- 1 teaspoon salt
- 1/2 teaspoon black pepper
Instructions
- Heat oven to 450°F. Line baking sheet with parchment paper.
- Prepare three bowls for breading: flour in one, beaten egg and milk in second, panko with salt and pepper in third. Bread onion slices by dipping in flour, then egg mixture, then breadcrumbs. Bake 18-20 minutes, flipping twice until golden.
- Blanch green beans in boiling salted water for 4 minutes. Drain and plunge into ice water. Drain again.
- Reduce oven to 400°F.
- Melt butter in large oven-safe skillet over medium-high heat. Add mushrooms, salt, and pepper. Cook 6-7 minutes until browned.
- Add garlic, cook 1 minute. Add flour, stir constantly for 2 minutes.
- Gradually add broth, stirring constantly. Simmer 3-4 minutes. Reduce heat, slowly add half-and-half.
- Cook 8-10 minutes until thickened to gravy consistency.
- Remove from heat. Stir in green beans and 1/3 of crispy onions.
- Top with remaining onions. Bake 12-15 minutes until bubbly.
Notes
- Can substitute store-bought crispy onions (1 1/2 cups total)
- Make ahead: Assemble and refrigerate overnight, add 5-10 minutes baking time
- Freezes up to 3 months
- Prep Time: 35 minutes
- Cook Time: 50 minutes
What if I don’t like mushrooms in my Green Bean Casserole?
You can absolutely leave them out – just melt the butter and add the garlic directly, then proceed with the flour.
Some people like to add diced bell peppers or water chestnuts for extra texture instead.
Can I freeze this casserole?
This freezes beautifully for up to 3 months. Assemble completely, then wrap tightly and freeze. Thaw in the refrigerator overnight before baking as directed.
How should I store leftover Green Bean Casserole?
Keep covered in the refrigerator for up to 4 days. Reheat in the oven at 350°F for about 15 minutes, or microwave individual portions until heated through.
If you love discovering new family recipes like I do, I’d love for you to follow me on Pinterest where I share all my kitchen discoveries and holiday menu ideas.
My favorite occasions to make Green Bean Casserole
This has become my go-to dish for every holiday gathering, from Thanksgiving to Christmas and Easter.
I also love making this for Sunday dinners when I want something that feels special but doesn’t require too much fuss.
It goes perfectly with roasted chicken or beef, and the leftovers make wonderful lunches all week long.
