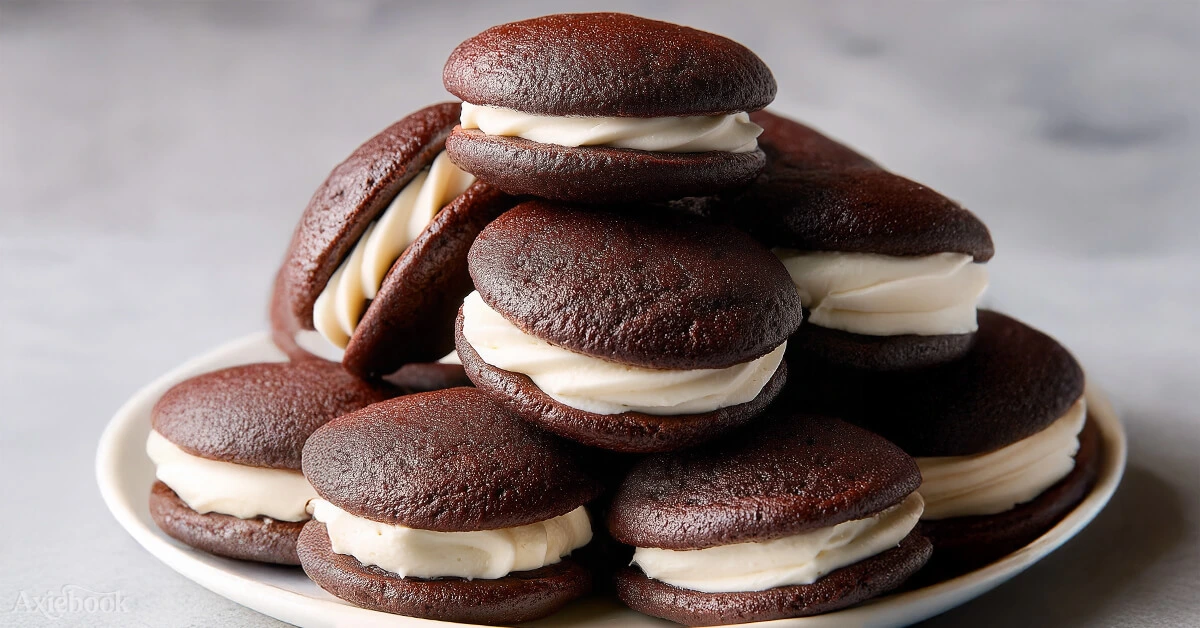
My grandmother used to make whoopie pies every Sunday after church, and the smell of chocolate baking still takes me right back to her kitchen.
You know how some treats just make everything better? Whoopie pies do exactly that, these soft chocolate rounds with their pillowy marshmallow centers have this magical way of turning an ordinary afternoon into something special.
Why this Whoopie Pies always gets requests from family
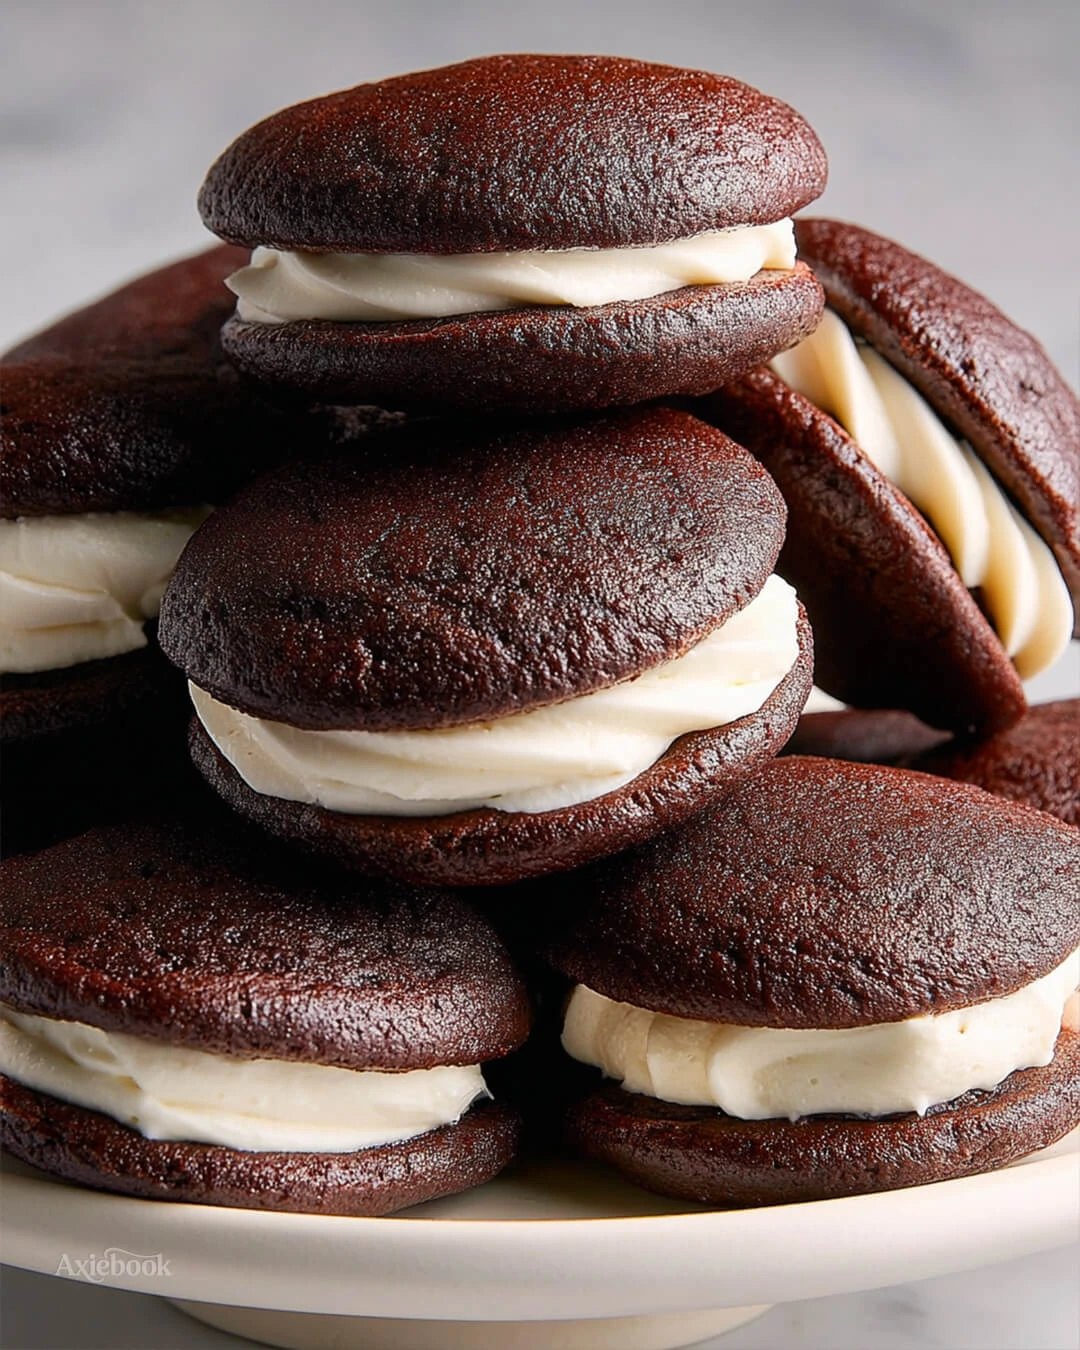
Every time I bring these to a gathering, I come home with an empty container and at least three requests for the recipe. The secret is in the perfect balance between the rich chocolate cake and the cloud-like marshmallow center.
You’ll love how these whoopie pies stay incredibly moist for days, thanks to the combination of butter and oil in the batter.
I’ve been making perfect pumpkin muffins for years, but these chocolate treats hold a special place in my heart.
The marshmallow filling pipes beautifully and never becomes too sweet or overwhelming.
When I’m craving something comforting, I often choose between these and my easy cinnamon sugar pumpkin muffins.
My ingredient list for Whoopie Pies
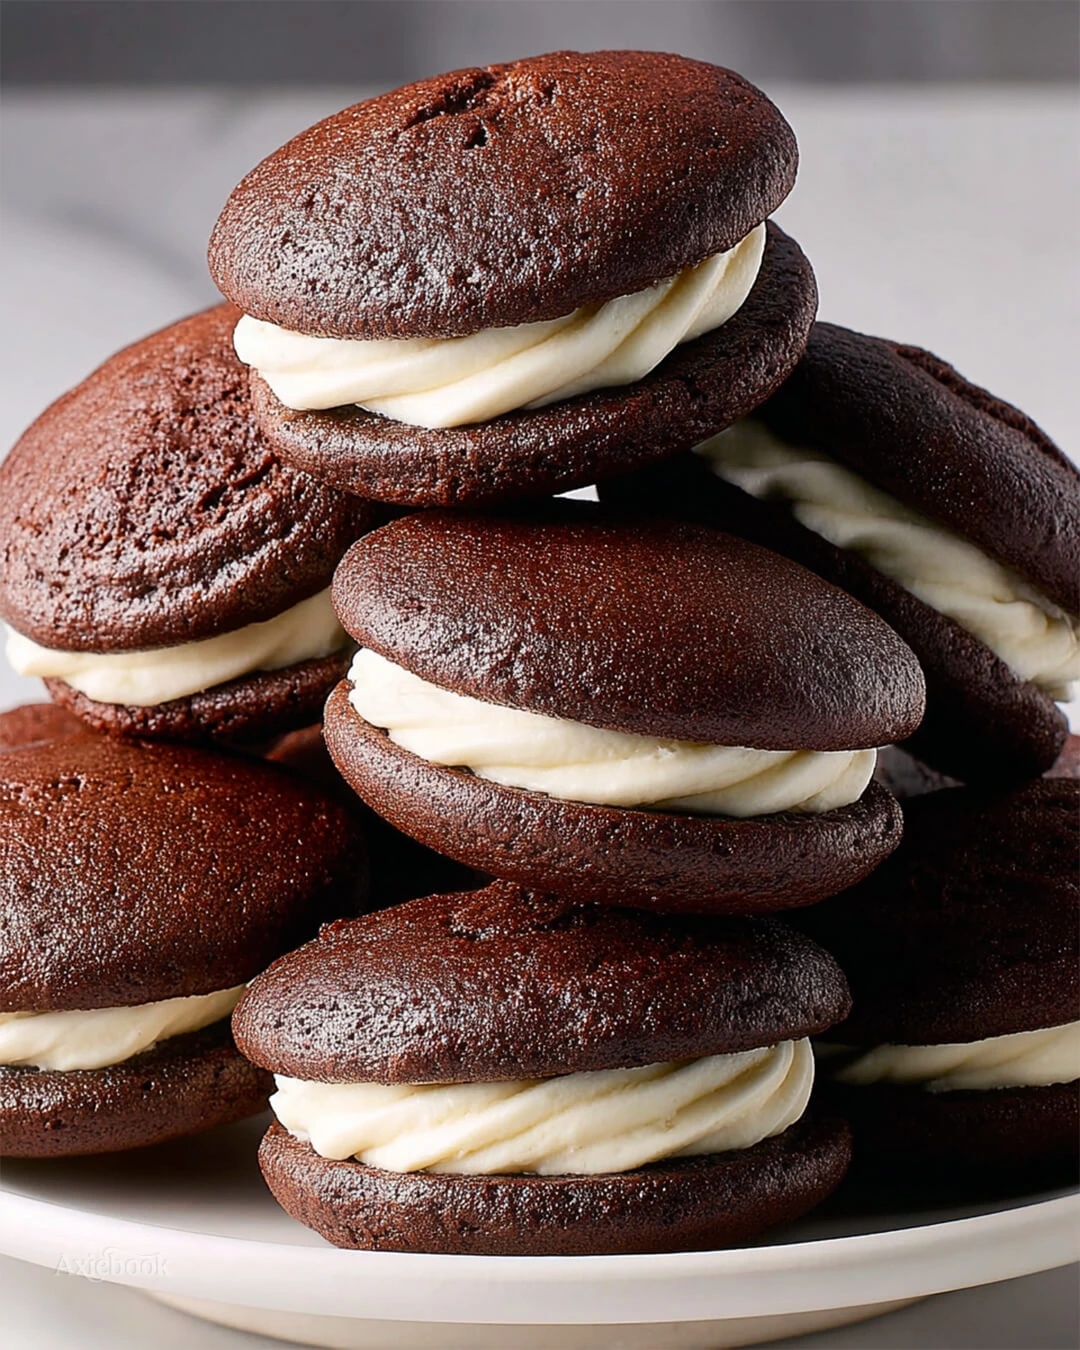
For the Chocolate Cakes:
- 2¼ cups all-purpose flour
- ½ cup unsweetened cocoa powder (Dutch-processed preferred)
- 1 teaspoon baking soda
- 1 teaspoon baking powder
- ½ teaspoon salt
- ⅓ cup unsalted butter, softened
- ⅓ cup vegetable oil
- 1 cup packed brown sugar
- 2 large eggs, room temperature
- 1 teaspoon vanilla extract
- 1 cup buttermilk
I always use Dutch-process cocoa for deeper color and richer flavor. Regular cocoa works too, but the taste won’t be quite as smooth.
For the Marshmallow Filling:
- 1 cup unsalted butter, softened
- 1 cup powdered sugar
- 1 jar (7-8 oz) marshmallow fluff
- 1 teaspoon vanilla extract
Make sure your butter is truly softened – it should give easily when pressed but not be melty.
How I Make This Whoopie Pies
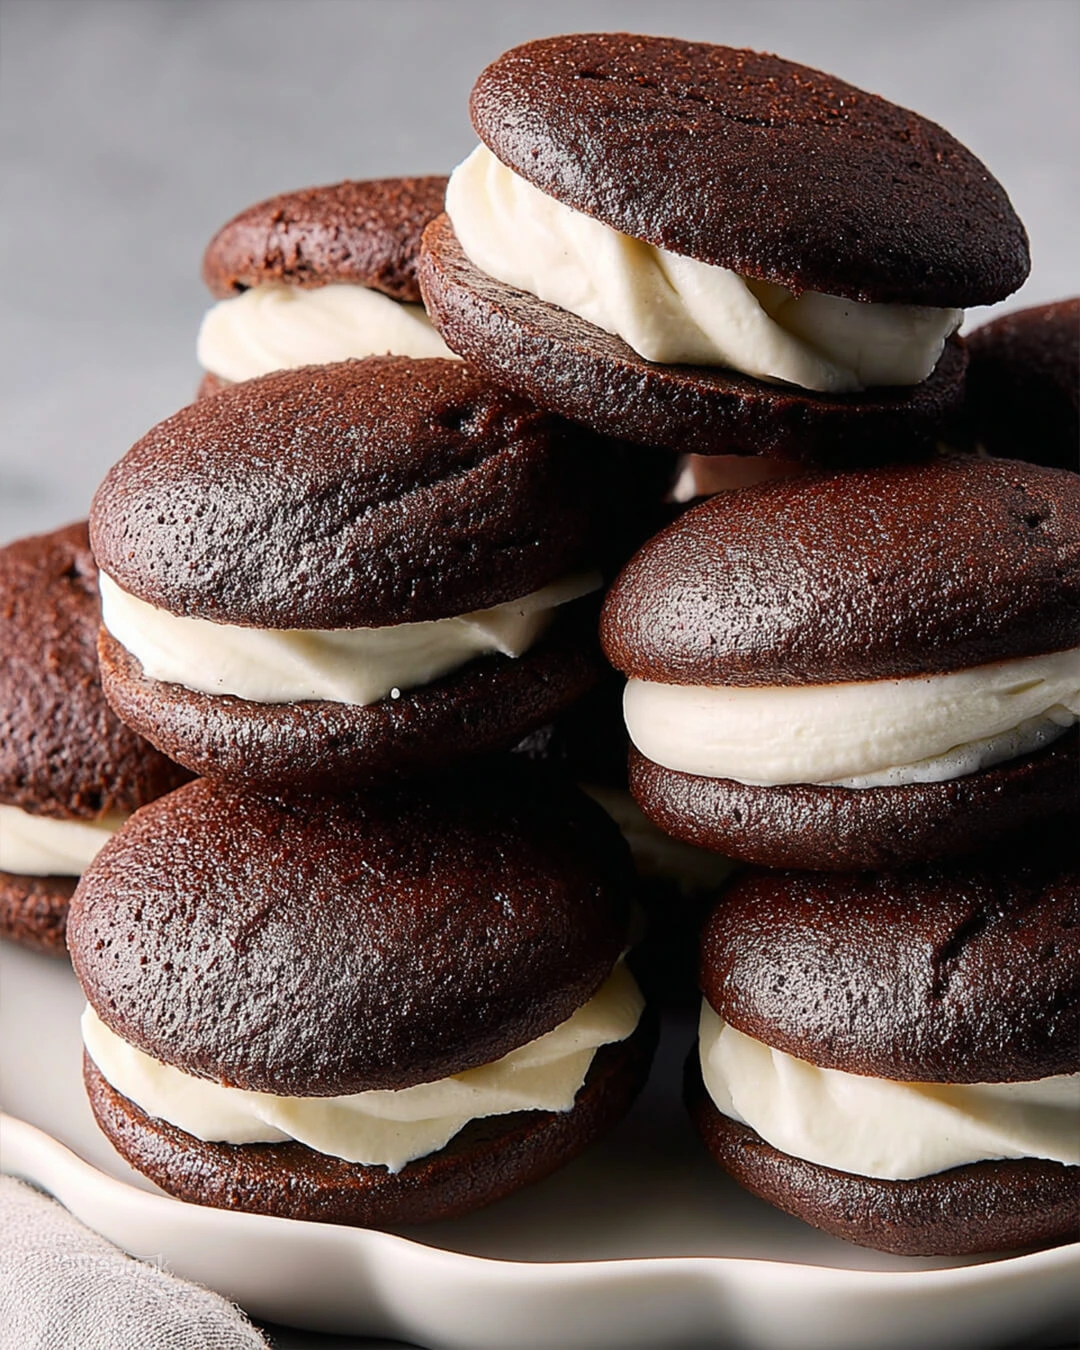
- Prepare your workspace. Heat oven to 375°F and line two large baking sheets with parchment paper. I like to have everything ready before I start mixing.
- Combine dry ingredients. Whisk together flour, cocoa powder, baking soda, baking powder, and salt in a medium bowl. Set aside.
- Cream the fats and sugar. Beat softened butter, oil, and brown sugar with an electric mixer for about 4 minutes until the mixture looks pale and fluffy. This step is crucial for tender whoopie pies.
- Add eggs and vanilla. Beat in eggs one at a time, mixing well after each addition. Add vanilla and mix until combined, scraping down the bowl sides as needed.
- Alternate wet and dry ingredients. Add half the flour mixture and mix on low speed until just combined. Pour in all the buttermilk and mix gently. Add remaining flour mixture and mix until you have a smooth, thick batter.
- Shape the cakes. Using a cookie scoop or large spoon, drop rounded portions of batter (about 2 tablespoons each) onto prepared baking sheets. Space them about 2 inches apart.
- Bake until set. Bake for 9-10 minutes, rotating pans halfway through. The tops should look matte and spring back when lightly touched. Cool on pans for 5 minutes, then transfer to wire racks.
- Make the filling. While cakes cool, beat butter and powdered sugar until light and creamy, about 3 minutes. Add marshmallow fluff and vanilla, beating until smooth and pipeable.
- Assemble your whoopie pies. Once cakes are completely cool, spread about 2 tablespoons of filling on the flat side of half the cakes. Top with remaining cakes and gently press together.
My kitchen secrets for getting this Whoopie Pies just right
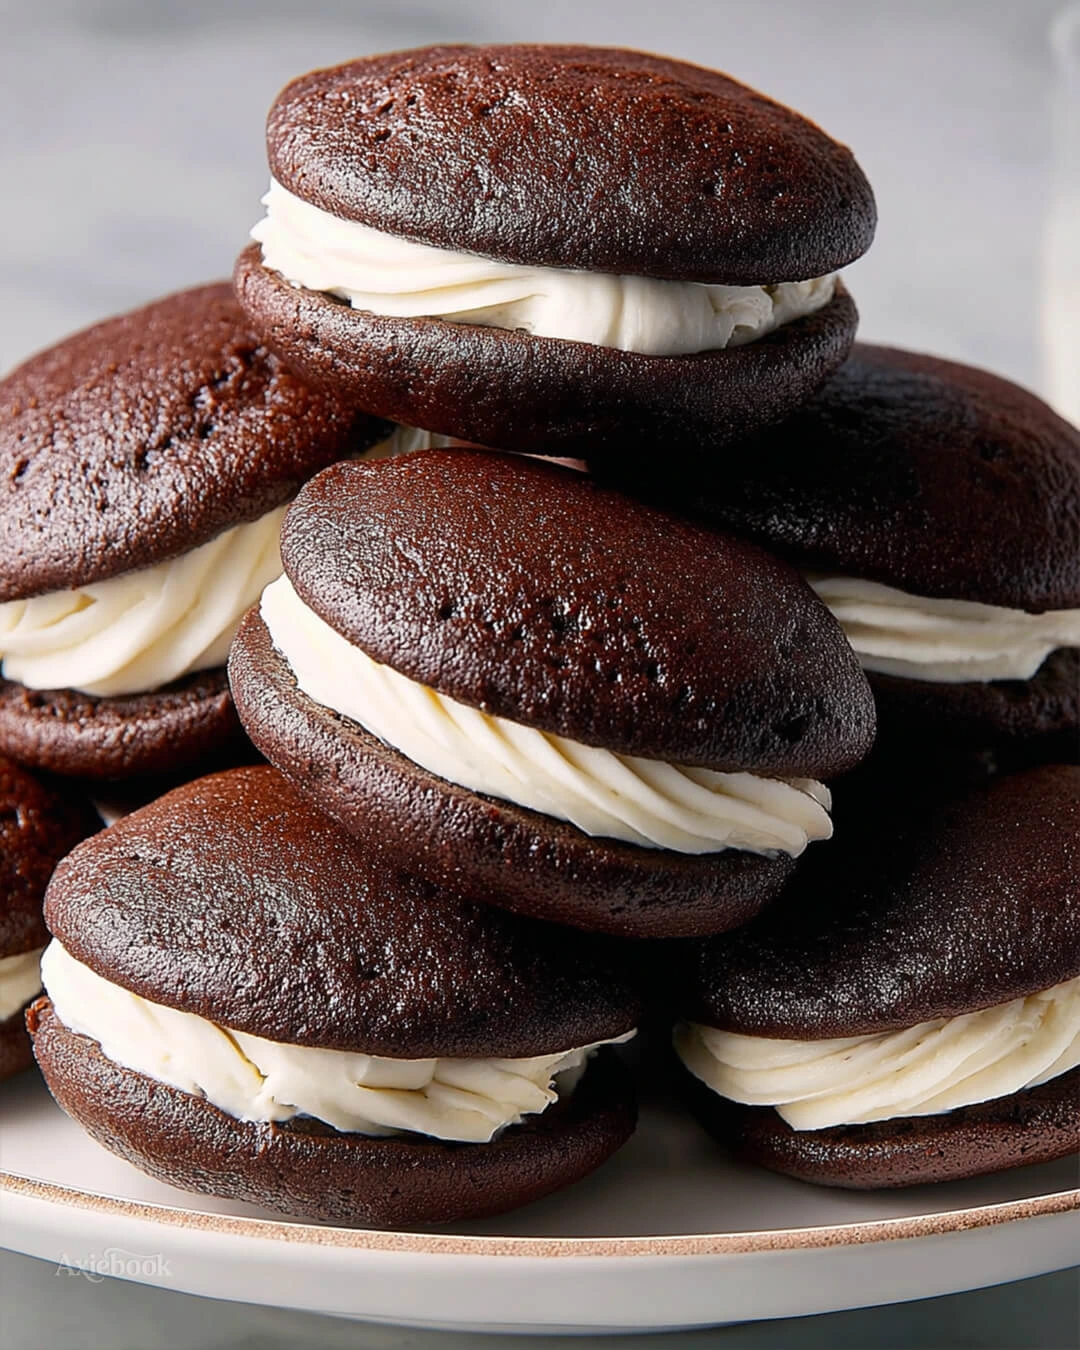
I’ve learned that room temperature ingredients make all the difference in achieving the perfect texture. Cold eggs and buttermilk can cause the batter to curdle, resulting in dense cakes rather than light, tender ones.
Overmixed batter creates tough whoopie pies instead of the soft, cake-like texture we’re after.
Let your assembled whoopie pies rest for at least an hour before serving. This allows the filling to set slightly and the flavors to meld together beautifully.
How should I store leftover whoopie pies?
Store assembled whoopie pies in a single layer in an airtight container at room temperature for up to 4 days.
For longer storage, wrap individually in plastic wrap and freeze for up to 2 months.
Print
Classic Homemade Whoopie Pies
- Total Time: 40 minutes
- Yield: 16 whoopie pies
Description
Soft chocolate cakes sandwiched with fluffy marshmallow cream filling – a beloved New England treat that’s perfect for any occasion.
Ingredients
For the Chocolate Cakes:
- 2¼ cups all-purpose flour
- ½ cup unsweetened cocoa powder (Dutch-processed preferred)
- 1 teaspoon baking soda
- 1 teaspoon baking powder
- ½ teaspoon salt
- ⅓ cup unsalted butter, softened
- ⅓ cup vegetable oil
- 1 cup packed brown sugar
- 2 large eggs, room temperature
- 1 teaspoon vanilla extract
- 1 cup buttermilk
For the Marshmallow Filling:
- 1 cup unsalted butter, softened
- 1 cup powdered sugar
- 1 jar (7-8 oz) marshmallow fluff
- 1 teaspoon vanilla extract
Instructions
- Heat oven to 375°F and line two large baking sheets with parchment paper.
- Whisk together flour, cocoa powder, baking soda, baking powder, and salt in a medium bowl.
- Beat butter, oil, and brown sugar with electric mixer for 4 minutes until pale and fluffy.
- Beat in eggs one at a time, then vanilla, mixing well after each addition.
- Alternate adding flour mixture and buttermilk, beginning and ending with flour. Mix on low speed until just combined.
- Drop 2-tablespoon portions of batter onto prepared baking sheets, spacing 2 inches apart.
- Bake 9-10 minutes, rotating pans halfway through, until tops are matte and spring back when touched.
- Cool on pans 5 minutes, then transfer to wire racks to cool completely.
- For filling, beat butter and powdered sugar until creamy, about 3 minutes. Add marshmallow fluff and vanilla, beating until smooth.
- Spread 2 tablespoons filling on flat side of half the cakes. Top with remaining cakes and press gently.
Notes
- Store at room temperature in airtight container up to 4 days
- Can be frozen individually wrapped for up to 2 months
- All ingredients should be at room temperature for best results
- Don’t overmix batter once flour is added to avoid tough cakes
- Prep Time: 20 minutes
- Cook Time: 20 minutes
Can I substitute the marshmallow fluff?
You can make your own marshmallow filling by beating 1 cup butter with 2 cups powdered sugar and ¼ cup milk, but the traditional fluff gives the authentic texture and sweetness that makes these treats special.
What’s the best way to get evenly sized cakes?
I swear by my cookie scoop for perfectly uniform whoopie pies. If you don’t have one, use a large spoon and try to keep each portion about the same size, roughly 2 tablespoons of batter each.
If you love trying new recipes and want to stay connected with all my latest kitchen adventures, I’d love for you to follow me on Pinterest!
I share new recipes, baking tips, and all sorts of cozy kitchen inspiration that I think you’ll enjoy.
My favorite occasions to make Whoopie Pies
These treats shine at casual family gatherings where you want something special but not too fancy.
I love packing them in lunchboxes because they travel well and never fail to bring a smile.
During fall months, I often serve whoopie pies alongside warm cider at our weekend gatherings.
They’re also perfect for birthday parties where you want individual portions that are easier to serve than traditional cake.
